Replacing your roof is a significant investment in your home, and it’s essential to understand the entire process to ensure a successful project. From initial assessment to final inspection, every step plays a crucial role in the overall outcome. This comprehensive guide will walk you through everything you need to know about roof replacement, including what to expect at each stage.
1. Initial Assessment and Consultation
Understanding Your Needs:
- Roof Inspection: The process begins with a thorough inspection of your existing roof by a professional roofer. They will assess the condition of your current roofing materials, identify any underlying issues, and determine whether a full replacement is necessary.
- Discussion of Options: During this phase, you will discuss your needs and preferences with the roofing contractor. This includes choosing materials, colors, and styles that fit your home and budget.
What to Expect:
- Detailed Inspection Report: You will receive a comprehensive report detailing the current state of your roof, including any damage or concerns.
- Cost Estimate: Based on the inspection, you’ll get a detailed estimate that covers the cost of materials, labor, and any additional services.
2. Selecting Roofing Materials
Types of Roofing Materials:
- Asphalt Shingles: The most common choice, available in a variety of colors and styles, and known for its affordability and ease of installation.
- Metal Roofing: Offers durability and energy efficiency, available in options like steel, aluminum, and copper.
- Clay or Concrete Tiles: Provides a distinctive look with excellent longevity but can be heavier and more expensive.
- Slate Roofing: Known for its elegance and durability, though it is a premium option with higher installation costs.
What to Expect:
- Material Samples: You’ll be shown samples of various materials to help you make an informed decision.
- Material Recommendations: The contractor will provide recommendations based on your budget, climate, and aesthetic preferences.
3. Preparing for the Replacement
Pre-Installation Steps:
- Permit Acquisition: Your contractor will handle obtaining any necessary permits required for the roofing project, ensuring that all work complies with local building codes.
- Site Preparation: This involves protecting your property and preparing the site for work. The contractor will cover plants, vehicles, and other areas to prevent damage from debris.
What to Expect:
- Preparation Time: Expect a few days for site preparation and permit acquisition before the actual replacement begins.
- Communication: Your contractor will keep you informed about the timeline and any preparations you need to make.
4. Removal of Old Roofing
The Process:
- Shingle Removal: The existing roofing material, including shingles and underlayment, will be carefully removed. This step also includes removing any damaged or rotted decking.
- Inspection: Once the old roof is removed, the contractor will inspect the decking and underlying structure for damage or rot.
What to Expect:
- Noise and Debris: This phase can be noisy and generate a lot of debris. Make sure to keep pets and children away from the work area.
- Cleanup: The contractor will clean up debris daily to minimize mess and ensure safety.
5. Roof Installation
Steps Involved:
- Deck Preparation: Any necessary repairs to the decking or underlying structure will be completed. A new layer of underlayment will be installed to provide additional protection.
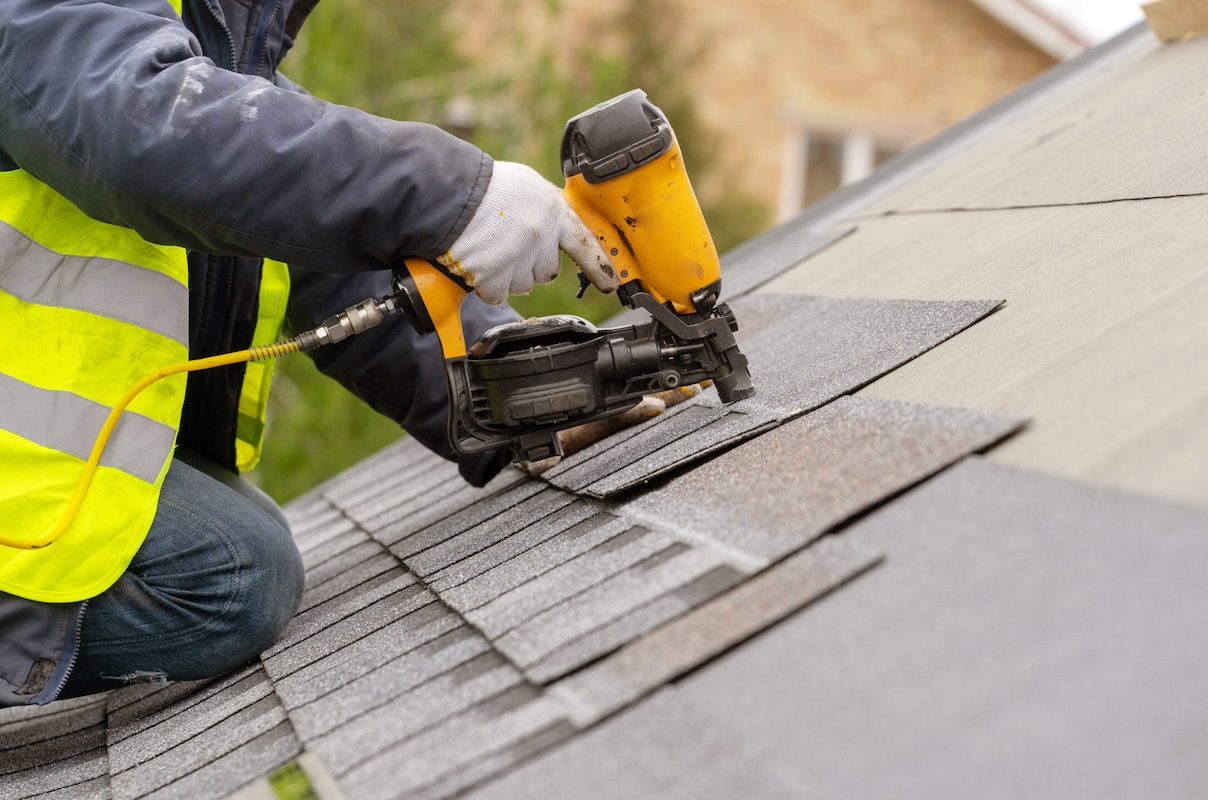
- Installation of New Roofing Material: The new roofing material will be installed according to the manufacturer’s guidelines. This includes the placement of shingles, tiles, or metal panels, and proper sealing and flashing.
What to Expect:
- Progress Updates: Your contractor will provide regular updates on the installation progress.
- Completion Time: The duration of the installation depends on the size and complexity of your roof, typically ranging from a few days to a week.
6. Final Inspection and Cleanup
Inspection Process:
- Quality Check: Once the installation is complete, the contractor will conduct a thorough inspection to ensure the roof has been installed correctly and meets all quality standards.
- Final Walkthrough: You will be given a chance to inspect the work and address any concerns with the contractor.
What to Expect:
- Post-Installation Cleanup: The contractor will clean up the work area, removing any remaining debris and ensuring your property is left in good condition.
- Documentation: You will receive documentation for your warranty and any maintenance tips for your new roof.
7. Post-Installation Care and Maintenance
Routine Maintenance:
- Regular Inspections: Schedule regular roof inspections to check for damage, debris, or signs of wear and tear.
- Gutter Cleaning: Keep gutters clean and free of debris to prevent water damage and maintain proper drainage.
What to Expect:
- Warranty Information: Ensure you understand the warranty coverage and how to handle any potential issues that may arise.
- Maintenance Tips: Follow the maintenance guidelines provided by your contractor to extend the lifespan of your roof.
Roof replacement is a significant undertaking, but understanding each step of the process can help ensure a smooth and successful project. From initial assessment to final inspection, each phase is crucial for achieving a durable and aesthetically pleasing roof. By staying informed and working closely with your roofing contractor, you can protect your home and investment with confidence.


